Homemade Burger Buns Recipe- Vegan Option Included!
I love a nice, juicy burger, and soft, fluffy burger buns are essential for making the best one. In this recipe, I made homemade burger buns recipe using pizza dough, and they turned out absolutely perfect!
They’re soft and have the right texture for holding all the delicious burger fillings.
To get the perfect burger buns, be sure to read this post until the end, where I share all my tips and tricks.

You need to do nothing extra or complicated—just follow a few key steps, and you’ll have the best homemade burger buns for your burgers!
These burger buns are eggless, and you don’t need fancy ingredients.
The dough is very similar to my pizza dough and dinner roll recipes, but shaping and baking them correctly is important.
The temperature and cooking time are slightly different, so a little extra attention is needed.
Once you get the hang of it, you can make these burger buns in large batches and store them in the fridge or freezer—they’ll last a long time!
But if you want freshly baked burger buns, you don’t even need to store them. Just set aside about 3 hours for the dough, and you’ll be all set.
So, without wasting any more time, let’s get started on making the softest, fluffiest burger buns ever!
Ingredients
All-Purpose Flour—I love that I can use any store-bought all-purpose flour for this recipe. You can use bread flour if you prefer, but I highly recommend sticking with all-purpose flour for the best results.

Butter – Butter plays a key role in this recipe, and I’ve used 1 ½ tablespoons. I know it might seem like a lot, but trust me—the end result is worth it!
The more butter you use, the softer your burger buns will be.
You can substitute it with oil or olive oil, but keep in mind that the buns won’t be quite as soft and melt-in-your-mouth. If you want a vegan option, you can use vegan butter instead.
Water – I used about 180 ml of water in this recipe, but you can increase it slightly to 185-190 ml if needed. The goal is to get a smooth, slightly sticky dough after kneading.
If your dough feels dry, add a tiny bit more water (5-10 ml), but be careful not to overdo it. The dough should be soft, not overly wet.
Yeast – I used 1 ½ to 2 tablespoons of yeast because I’m giving the dough just two hours to proof. If you plan to cold-ferment the dough overnight in the fridge, you can reduce the yeast amount.
If you’re using dry active yeast, remember to activate it with warm water and sugar before adding it to the dough.
Salt – I used 1 tablespoon of salt, which can be adjusted to taste. You can go up to 1 ¼ tablespoons if you prefer slightly saltier buns.
Sugar – For burger buns (and dinner rolls), the sugar should always be double the amount of salt to achieve that slight hint of sweetness.
This balances the flavor and makes the burger taste so good when you add a salty meat patty and cheese.
If you don’t want any noticeable sweetness, you can use an equal amount of sugar and salt, but I highly recommend sticking to the 2:1 ratio for the best flavor.
Tips to making the perfect Homemade Burger Buns
1. To get the perfect burger buns, preheating your oven is key. Set it to 200°C (392°F) and let it heat for at least 15 minutes before putting in the buns.
If you skip this step, the buns won’t cook evenly, and it’ll take way longer than it usually does to cook them. I’ve made this mistake before, and trust me, don’t skip preheating.

2. Placement matters, too. First, bake the buns closer to the lower heating element so the bottoms cook properly. Then, move them up near the top heating element to get that golden-brown finish.
You might wonder why not just turn on both heating elements at the same time? I don’t know, I just find this method works best. When both elements are on, the buns might look good, but I feel like the inside doesn’t cook as well.
So, cooking the bottom first and then toasting the top for another five minutes gives the best results.
3. Before putting them in the oven, don’t forget to brush the tops with milk, egg wash, or even water. Skipping this step will leave you with hard, dry burger buns.
I’ve done it before, and I regretted it when I ended up with rock-hard buns. So, always remember to brush something on top to lock in the moisture.
4. Butter is another non-negotiable. Adding enough butter relaxes the gluten structure, keeping the buns soft and fluffy instead of too chewy.
If you skimp on butter, the buns won’t have that nice, tender texture. Some people use oil, but oil doesn’t make them as soft as butter does. If you’re going for a vegan version, use vegan butter—it works just as well.
5. Now, can you use 2 hour pizza dough to make burger buns as well? Yep, you totally can. If you have premade pizza dough, just knead some butter into it using the slap-and-fold method.
Once the butter is fully incorporated, let it rise again. Since pizza dough usually has oil instead of butter, you can add more oil if needed, but keep in mind that butter gives a much softer texture.
Why do my burger buns come out hard?
If the top of your burger bun is hard, there are two main reasons why this might have happened.
First, you probably forgot to coat the top with milk, egg wash, or even just water before baking. This step is super important because it keeps the buns soft and gives them a nice golden-brown finish.
If you skip it, the top will dry out and turn hard instead of staying soft and slightly glossy. I’ve made this mistake before, and trust me, it makes a huge difference—so always brush the tops before baking.

The second reason could be that you baked the buns at a lower temperature for too long. When this happens, the inside might still be soft, but the outer crust—especially the top—can dry out and harden.
Make sure you’re baking at 200°C (392°F) and not letting them sit in the oven too long. If you bake them too long at a lower temperature, they won’t brown properly and will end up tough.
So, if your burger buns are coming out hard on top, make sure you’re brushing them before baking and that you’re using the right temperature and timing!

Homemade Burger Buns (Vegan Option Included)
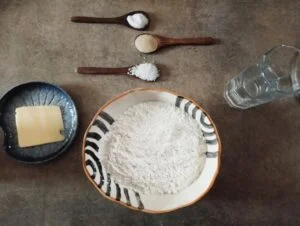
Ingredients
- 300 grams All Purpose Flour
- 180-190 ml Water
- 1.5 tbsp Instant Yeast
- 1 tbsp Salt
- 2 tbsp Sugar
- 2 tbsp Softened Butter
Instructions
- First, take all the dry ingredients and mix them well with the flour. Then, add water and start kneading the dough. Once you get a nice, smooth dough ball where everything is well combined, you might need to knead it a little more to make sure it’s properly mixed. If you’re kneading by hand, just keep going until it all comes together. If you’re using a stand mixer, mix it on a slow speed until the dough feels soft and smooth.
- The next step is adding butter, and this part is really important because it makes the dough super soft and smooth. I usually add 1 ½ tablespoons of butter, but 2 tablespoons for 300 grams of flour also works fine. Just know that when you add the butter, the dough will feel really soft and sticky at first, but that’s normal. The best way to knead it at this stage is by using the slap-and-fold method. This helps mix everything properly and makes sure the dough turns out silky and smooth. Keep kneading until you see that the dough is nice and shiny.
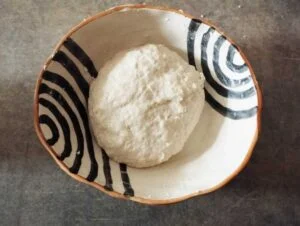
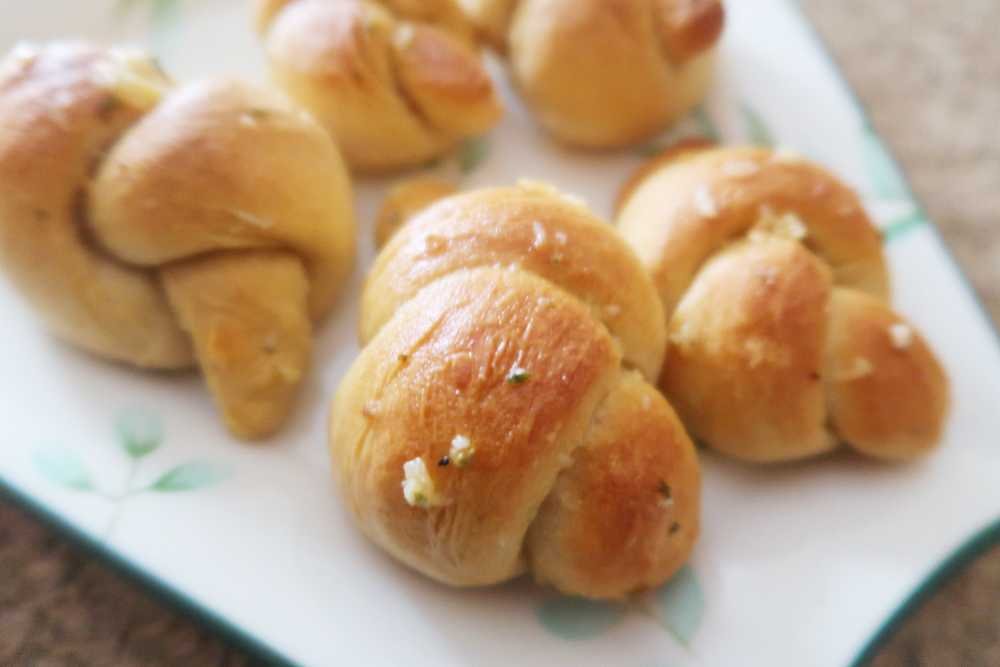
- Once the dough is ready, let it rest for about 2 hours. During this time, it will double in size. After it has risen, it’s time to shape the buns. I don’t like cutting the dough into pieces, so I just take small portions and roll them into balls, kind of like how you’d do for pizza dough.

- Now, this part is important—make sure each dough ball is about 70 to 75 grams. I made the mistake of making them too big once, about 90 to 100 grams each, and they expanded way too much in the oven. They didn’t look like burger buns anymore, so sticking to 70 to 75 grams is the best size.

- Once you’ve shaped the buns, cover them and let them rest for about 20 to 25 minutes. While they’re resting, preheat your oven to 200°C (392°F) for 15 minutes.
- Before baking, don’t forget to brush the buns with something to give them a nice shine. I used milk because I wanted to make an eggless version, but if you use an egg wash, the buns will have a deeper golden color. If you want to keep it fully vegan, you can just brush them with water.

- When it’s time to bake, I use a two-step method to get evenly cooked, golden buns. First, place the buns on the lower rack of your oven and bake them at 200°C for about 6 to 7 minutes. Keep an eye on them—once the bottoms look nice and browned, they’re ready for the next step. If they’re still pale, bake for another 1 or 2 minutes. After that, move the buns closer to the top heating element and bake for another 4 to 5 minutes at the same temperature. This helps get that beautiful golden brown color on top. But be careful not to overbake them, since every oven works a little differently.

- A couple of things to watch out for—if the bottoms are getting too dark, you might need to move them away from the lower heat source sooner. If the tops are browning too fast, you might need to adjust the second baking time. Since every oven is different, you might have to test it once to find the perfect timing.

- Brush the buns with butter and top some seasme seeds on top for garnishing.