Making pizza dough is not the easiest thing to do as it involves many processes that you cannot even see.
So this guide will show you how to proof pizza dough – the right way!
The dough used for pizza is not simple. While the dough ingredients are pretty basic, you still need to prove, rise, and ferment the dough enough to make the best pizza crispy when cooked.
There are also differences in the processes that are needed to make the dough properly.
That is why making pizza at home from scratch usually takes longer than usual.
You need to wait for at least a day for the dough to rise properly.
So for your pizza to have the right crust when cooking, let us see what you should do before cooking it.
This post has all your questions answered. We will be looking at the proofing process and the other processes that go into making the right pizza dough so you can cook it at home.
What Is Proofing Pizza Dough?
When you initially make the pizza dough, it will look as though it is too little in quantity.
In some guides or videos, you will see that the same amount of ingredients can make a lot of pizzas.
The reason behind this is because the dough is allowed to rest and it rises.
The size almost doubles and makes sure that the dough has enough air inside it to make a crispy pizza crust.
Proofing the dough is an important step of making pizza dough because it allows the fresh yeast to act on it.
It is the process where you let the dough rest, and it will double in size.
During this process, the yeast activates and acts on the dough. Make sure to use good quality yeast as it is a very important thing for the yeast to activate else, you would end up with a dense, soggy crust.
The activated yeast then develops the sugar inside the flour and produces carbon dioxide gas, which explains its bubbles.
This is also the reason why the dough doubles in size. By allowing the sugar and yeast to develop the dough, the air pockets create convection heat when cooked to make it airy.
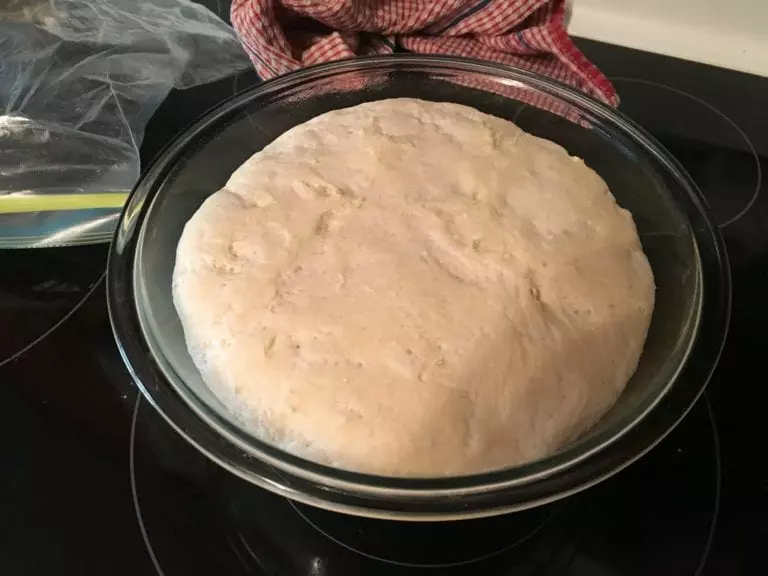
After 2 hours
How Is Proofing Different From Rising Of The Dough And Fermentation Of The Dough?
As I have mentioned above, other processes are involved in making the right dough for your pizza.
These processes seem similar as well so it is hard to differentiate them.
So with this guide, we will see how these three different processes differ from each other to understand better what goes on when you let the dough proof, rise, and ferment.
Proofing
Proofing is the final stage of allowing the dough to rise.
When you allow the dough to rise for the last time before you cut it into smaller individual pizza dough dough balls or when you are just about to cook it.
It is usually the second time of rising where the yeast inside the dough is almost exhausted.
This means that almost all of the sugar in the dough has been used and is ready to be cooked.
This is the part of the process where the dough doubles in size.
There should be many air pockets inside the dough, and when it proofs properly, it should have an elastic texture.
Rising Of The Dough
Rising is the initial step to allowing the dough to rest. It is the first proofing stage or letting the pizza dough rise where the yeast is most active or almost all of the yeast you use is still acting on the dough.
At this stage, the dough should have the largest rise or increase in size.
There is still a lot of yeast inside the dough which means that the dough should be rising quickly and exponentially.
This part of the process is “bulk fermentation” because it has almost the same process.
The difference is that it allows the dough to rise quicker than the other processes.
Fermentation Of The Dough
Fermentation refers to the actual process that happens when you let the dough rise or proof.
It is the chemical process and reaction of different minerals inside the dough and the yeast.
This process can take longer, and it is called fermentation once it has risen.
It slows down the dough’s rise when you put it in a cold place so that the dough stays fresh and active.
It is where the yeast acts on the dough to use up the sugar. This is the actual process when the yeast uses up the carbohydrates inside the dough and turns it into CO2.
How To Proof Pizza Dough
Now, to understand these processes better, let us make our pizza dough.
I will guide you through the process, and you will see what happens to the dough with your own eyes.
The two important processes involved in making the dough are where you allow it to rise and proof.
However, you will also need to know how to knead and shape the dough later on.
Proofing store bought pizza dough is a little different. There is not much need to proof store bough pizza dough especially if it has been par-baked.
If you get a pizza dough from the grocery store, it is most likely that the store bought pizza dough has been proofed already. You do need to proof store bought pizza dough if it is fresh or uncooked.
It is better to learn about proofing by using fresh homemade pizza dough than trying to learn how to proof store bought pizza dough, so follow this simple guide below.
Step 1: Make The Dough
There are many easy recipes online that you can find to know how to make the dough for your pizza.
I also have some favorite pizza dough recipes on this site that you can use as a guide to making the dough.
The best thing about pizza dough is that you do not need many ingredients to make it.
The simplest of ingredients for pizza dough to allow it to proof it naturally, with ofcourse a chance of getting results with Tipo 00 flour.
The most common and most important ingredients are flour, which is usually Tipo 00, salt, sugar, olive oil, and yeast. You just need to activate the yeast in the warm water and mix it.
From there, you should have a dough that has a slightly sticky consistency.
That is a good sign that the dough is well-hydrated and that the yeast mixture will activate properly to create air pockets. You can also use rapid-rsie yeast like instat fresh yeast.
Step 2: Activate The Gluten By Kneading
Kneading is a very important part of the process. You activate the gluten inside the flour which will then create a stretchy and elastic texture to lock the air pockets inside the dough.
This means that you create a barrier within the dough so that the carbon dioxide will not escape.
You can either use a stand mixer at low speed for this process or knead the dough by hand.
Kneading the dough by hand takes around 15-20 minutes which means that your hands will be tired when the dough has been properly kneaded and is ready for proofing.
You are looking for a consistency that is light and manageable.
This will give the dough a fluffy interior when cooked, so make sure that you do not under knead the dough.
The point of kneading the dough is to create a strong wall within the dough.
That is where the air pockets will develop, so make sure you knead it enough so that it does not become too dense.
While gluten naturally develops inside the dough, the gluten structure is not strong enough in itself.
So kneading the dough restructures the gluten to become stronger.
Step 3: Rising Of The Dough
The next step is to let the dough rise and make sure that it becomes larger.
This is the bulk fermentation process that we have just talked about.
This process is where the dough will increase in size the most.
Once done kneading the dough, place it in a glass bowl and cover it with plastic wrap or cling wrap to seal it properly.
Keeping the bowl or a large container airtight is important because it will prevent the moisture from getting out.
This is to make sure that the dough stays moist and does not dry out during the process.
This process usually takes a couple of hours or 2 hours for the dough to double in size.
However, there are types of flour that will take a bit longer to rise and take about a day for it to double in size.
Step 4: Divide The Dough
Once the dough has doubled in size, take it out of the bowl and knead it slightly.
You do not have to knead the dough just like you did the first time, as you only need to distribute the yeast.
Kneading the dough after it has risen will be easier as the dough has become lighter or fluffier.
Just make sure that the instant yeast has been distributed evenly throughout the whole dough.
Naturally, the dough will deflate a little bit, so do not worry about that.
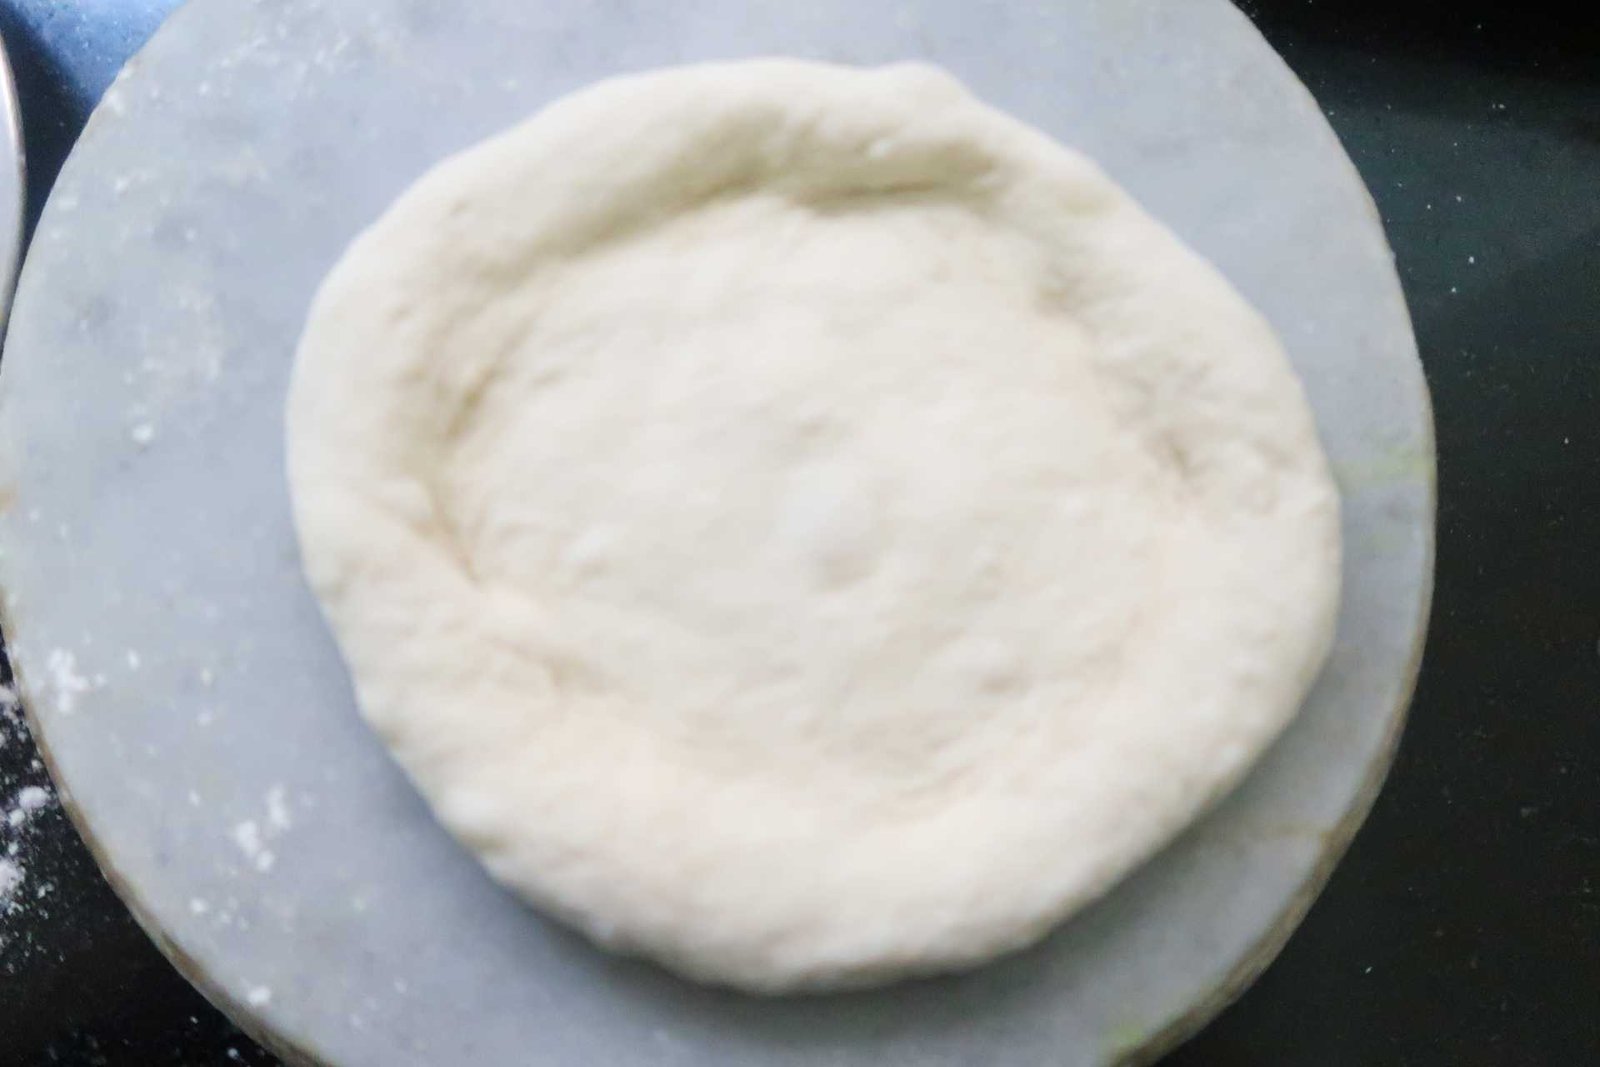
Get a knife or a dough scraper and then divide the dough into smaller balls, each ball should be enough for one pizza.
Fold the edges of each dough ball inward. This creates a smooth surface where the folded edges are under the ball of dough, this will also lock the air pockets in the dough.
Step 5: Final Proofing
Put each ball of dough in different airtight containers.
Seal each airtight container with plastic wrap and then let the dough proof for the final time to let the texture and the flavor develop inside it.
You can also brush each airtight container with olive oil so that the dough will not stick to it.
This is the longest part of the process as you need to allow the dough to develop its flavor properly.
You can either leave the dough balls to proof at room temperature or in the refrigerator to slow it down.
You do not need to rush this process, so leaving it at hotter temperatures will ruin it.
This process will usually take around 8 to 12 hours, so there is still a lot of time for you to prepare the other ingredients for your pizzas.
If you proof pizza dough overnight or for over 24 hours, the pizza dough should have doubled in size. That is why the minimum is to proof pizza dough overnight or for at least 8 hours.
How Long Do You Proof Pizza Dough?
You need to time the proofing process of pizza dough to ensure that you get the right consistency and texture.
Proofing pizza dough for 24 hours is the usual proper timing, you can also use a pizza dough that has been proofed overnight.
There are also other ways to proof pizza dough faster. If you proof the pizza dough faster, you can use it sooner.
For all-purpose flour, the gluten is more active, which means that proofing the dough takes shorter. At room temperature, you can proof the dough in just 2 to 3 hours.
As you can see, you can proof the pizza dough faster with warmer temperatures. You can proof the pizza dough fast if you also use the right flour like all-purpose flour.
This, however, will not be as crispy compared to Tipo 00 flour. This type of flour needs a lot of proofing time, which usually takes a whole day at room temperature to properly develop so make the dough ahead of time.
When you cold-proof the dough, it dramatically slows down the process. This takes up to three days long for making a pizza, but it also helps preserve the dough.
You get to have active dry yeast acting on the dough all the time so that the dough does not spoil easily. When you prove the dough in the fridge, make sure to let it warm up before using it.
When you plan on cooking a pizza and you are about to use dough that has been cold-proved, then you will need to take the dough out 2 hours before the actual cooking to let it warm up a bit.
The pizza dough proofing temperature should be a consisten temperature. Pizza dough proofing temperature is all about the balance of temperature that is not too hot or not too cold.
How Do You Know When Pizza Dough Is Proofed?
There are not a lot of options to make sure that the dough is well fermented. However, there are easy ways to determine this, and you will be able to know almost instantly if the dough is good enough.
Pizza dough proofed overnight may have doubled in size but there will be differences with pizza dough proofed for 24 hours so here is how to make sure that the pizza dough is ready.
The Poke Test
The poke test is one of the easiest ways to ensure that the dough is perfect and ready to cook.
The main concept behind this is that you are testing the elasticity of the dough that has been proofed.
When you proof dough, the gluten inside needs to be developed, and when it does, the dough becomes elastic.
So it makes sense to test it by seeing how elastic the dough can be.
Simply place a ball of dough at the regular pizza dough proofing temperature which is at room temperature or a warm place to warm up the dough and so it becomes easy to shape and knead.
Once it comes up to room temperature, poke the middle with your finger.
If the hole springs back to its original shape, then the dough has been proofed properly. If not, either the gluten is exhausted or the dough still needs more time to prove.
Increase In Volume of the Pizza Dough
Another simple way to test if the dough is ready is to look at the volume or size.
The dough should have risen and almost doubled in size for you to know that it has proved enough.
If the dough has not risen or nearly doubled in size, it needs more proofing.
Do not use the dough if it has not doubled in size as it will be too dense and make the thick crust soggy.
How To Cold Proof Pizza Dough
If you are not planning on using the dough right away, then I say the best way to preserve it and let it continue proofing is to use cold proofing to slow the process down and make the dough rise.
This process is cold fermentation as you lower the temperature for the dough to slow rise. You can either use your fridge to ferment the dough or find a dark, cool place.
All you need to do is divide the dough into smaller balls like in the process above and then place it in a sealed container. You can also use plastic wrap to make sure that the container is airtight.
Place the dough container with the dough in the fridge to let it proof for days. The yeast should stay active in this process, but it will slow it down, so it will take around 2 to 3 days.
I also have a whole article about cold fermentation, which you can read to understand the process better. This process is great for making bulks of pizza dough.
Cold fermentation or the pizza dough proofing temperature where the dough temperature is lower than usual will take a longer time so it is a good idea if you do not use the pizza dough right away.
How To Know If You Have Over Proofed Pizza Dough?
Proofing the pizza dough takes a long time to allow the yeast to act on the sugar properly.
However, there is a possibility that you can proof the dough for too long, which is a big problem.
Over-proofing is where you have allowed the dough to rise or ferment for too long.
That means that you have exhausted all the energy in the yeast, and it can no longer ferment the dough.
This process means that the gluten is also exhausted and can no longer hold the air pockets.
All the carbon dioxide created during the fermentation period has escaped the air pockets in the dough.
One clear sign of over-proofing is a huge hole in the dough.
The carbon dioxide has escaped as the gluten can no longer hold the shape or air pockets in the dough.
The dough, instead of being a ball, also becomes flat and dense.
This is a clear sign that the dough is over-proofed and you need to knead it again to reactivate the gluten in it.
The higher the protein content of the dough, the less likely it is going to be over-proofed. So make sure that you use Tipo 00 flour to extend the proofing period of the dough.
While there are solutions to over-proofed dough, I recommend not to let that happen as it will not have the same flavor, texture, and consistency when you cook the dough with your pizza.
Proof your pizza dough overnight and check it, if it has not risen well, then you can allow the pizza dough to to proof for 24 hours or 2 days before checking it again.
Cold Proofing Pizza Dough Better Than Proofing At Room Temperature?
I prefer proofing the dough in the fridge or at colder temperatures. This is because it both continues the process of fermentation while also preserving the dough for future use.
There is nothing wrong with proofing the dough at room temperature, especially if you need to use the dough on the same day. You will need to speed up the proofing process with that.
That is why proofing at room temperature will allow you to use the dough on the same day.
This also makes the dough more manageable as it is already warm and it should be elastic.
Cold-proofing or allowing the dough to be proof in the refrigerator means that the dough hardens a little bit.
So you do need to wait for a long time for the dough to proof and warm up as well.
Once the dough is warm enough, the dough will become elastic and snap back to its original shape.
The warmer it is, the easier it will be for the dough to be stretched and kneaded.
Cold-proofing is also better because it allows the yeast to act on the gluten better. The colder pizza dough proofing temperature gets the yeast to slowly act on the pizza crust or pizza base.
This develops better flavor and texture, making the pizza crispier when cooked and airy on the inside.
Proofing Pizza Dough In The Oven
As I have mentioned above, it is best not to proof the dough beyond room temperature. However, you can proof pizza dough faster at higher temperatures.
At room temperature, the dough will still rise quickly so proofing it at that temperature is great.
The problem with this is that you leave the dough to proof on the table where there can be temperature changes. That is why you can use your oven to proof the pizza dough properly.
Since the oven is a closed environment, the temperature is more consistent and stable. Proofing pizza dough in the oven is really easy and convenient.
So proof your pizza dough inside your oven and then close the oven door to let the dough rise.
Never turn the oven on when proofing the dough in the oven as the temperature will be too hot and will start to cook the dough. You just need a stable temperature inside the closed and sealed oven.
If you think that the temperature inside the oven is too cold and will proof the dough longer than you need it to, then you can place a bowl of hot water under the dough to make the temperature rise.
The pizza oven is perhaps the best place to proof pizza dough because of its consistency in temperature. You will get the best results and consistent results for the individual balls.
Use a pizza stone as well to make the temperature even more consistent as it absorbs the heat inside the oven and redistributes it.
What Is The Ideal Temperature For Proofing Pizza Dough?
Proofing the dough involves two controllable factors – time and temperature.
You can adjust one if you change the other so it is easy to measure or see what temperature you should use.
When you use higher temperatures, proofing will shorten, and at lower temperatures, it drags out the process. Either way, the dough should be proofed properly.
Perhaps the best way to proof dough is at room temperature because you get the right temperature for the dough to develop quickly and so you can use it right away.
It is also the easiest temperature to manage as you will only need to time it properly.
This is great for beginners to learn what the actual temperature does to the dough.
If you want the dough to develop better flavor and texture, I recommend using lower temperatures to ferment the dough. This is where you use the fridge to proof the dough.
At around 40 degrees Fahrenheit, the dough should be slowly proofing and create better and complex flavors and texture.
This, however, means that you will need to proof the dough for more than 24 hours, usually 2 days or more.
How Long Should You Proof Pizza Dough At Room Temperature?
Just like what we have discussed above, proofing the dough at room temperature will take shorter.
The time of proofing the dough is proportional to the temperature that you use.
When you proof the dough at room temperature, it will usually take around 1 to 2 hours.
However, there are some harder types of flour to manage that need 12 to 24 hours to prove.
The longer proofing period develops better flavor and texture, but you need the temperature to be stable.
You cannot leave the dough to prove on the table as the temperature will likely drop at night.
So make sure to place the dough inside the oven or in a cooler for a more consistent temperature. Anywhere with a cooler temperature that keeps the heat stable.
That way, the development of the dough will not fluctuate or change too much.
How Long Should You Proof Pizza Dough In The Fridge?
Proofing the dough at colder temperatures means that it will take longer for it to rise compared to when you proof pizza dough at room temperature.
That is why it is recommended that you allow the dough to proof in the fridge for at least 24 hours.
That time can be extended up to 3 days to let the flavor develop better.
By then, the yeast would have almost been exhausted and the gluten which means that the dough starts to over-proof.
After 3 days, the yeast will eat up the sugar in the dough and create alcohol.
This can drastically affect both the consistency and flavor of the dough, so make sure that you do not proof it longer than 3 days.
If you found this post informative, do share it on social media!
Leave a Reply