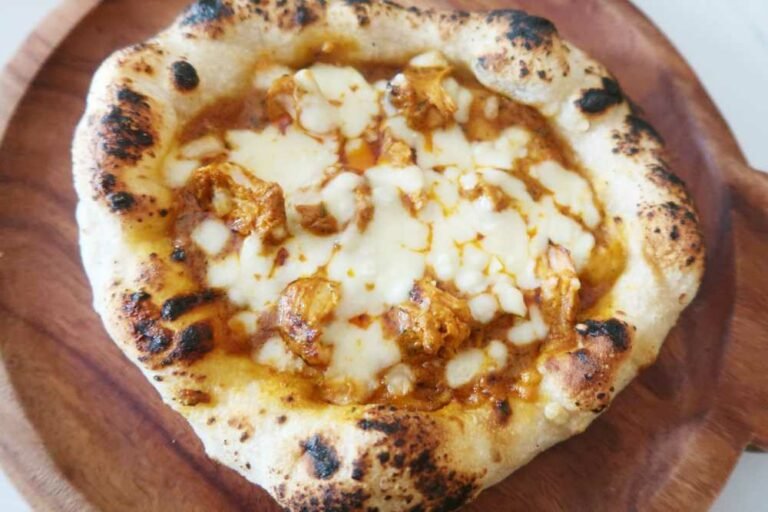
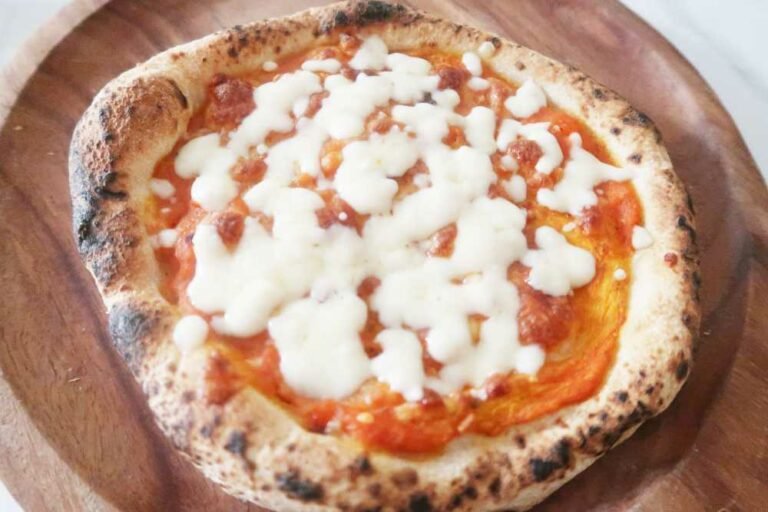
Learn to make the best homemade pizzas with us…..
Do you love pizza and want to create the perfect recipe at home?
This blog is your go-to for all things pizza, from delicious recipes to tips on how to make the best-looking pizzas right in your own kitchen.

Healthy and Easy Recipes for Your Family
This blog has something for everyone. You’ll learn how to make a variety of pizza sauces, cheeses, doughs, and even appetizers crafted from pizza dough. Plus, I share some unique and exciting pizza recipes that will blow your mind.
Featured Posts


Meet the author
Welcome! I’m Shrestha!
Hi, I’m Shrestha, the pizza enthusiast behind this blog. I’ve always loved experimenting with different dough recipes and techniques to create the perfect pizza. I started this blog to share my journey because I know how challenging making pizza can be, especially when you’re just starting out. I’m excited to share my tips and experiences with you!
YET TO BE seen in:


Get my delicious Pizza recipes and Appetizers ebook
Coming Soon!! Stay subscribed to the newsletter so that you get to know when I will be releasing my first pizza ebook that will have some interesting recipes in it!
Browse All Recipes


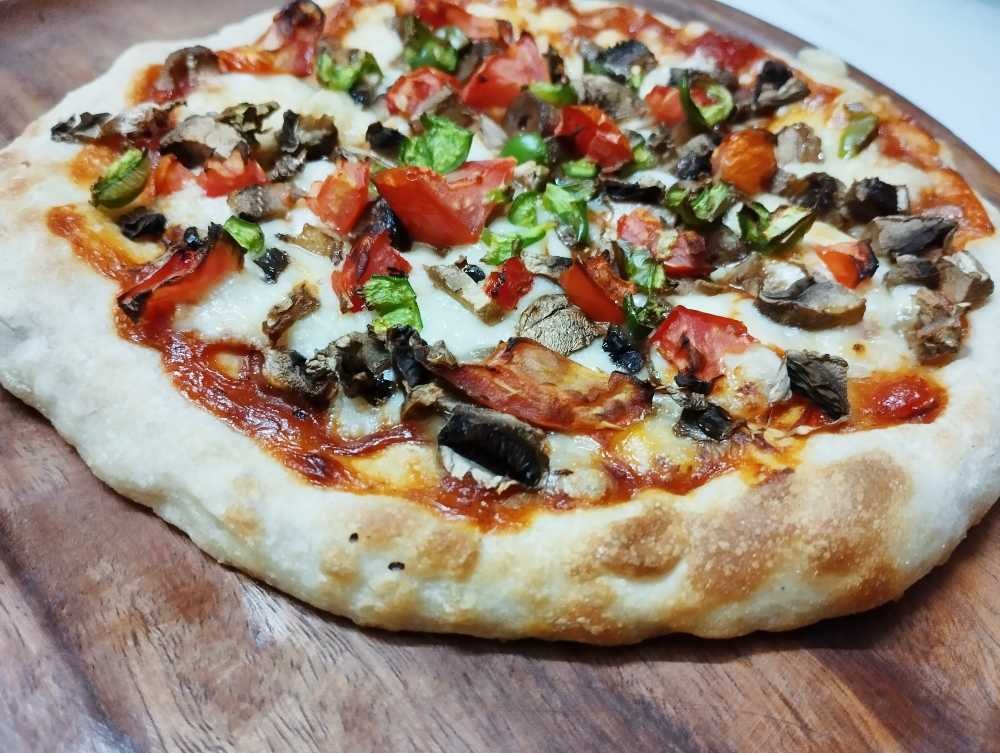


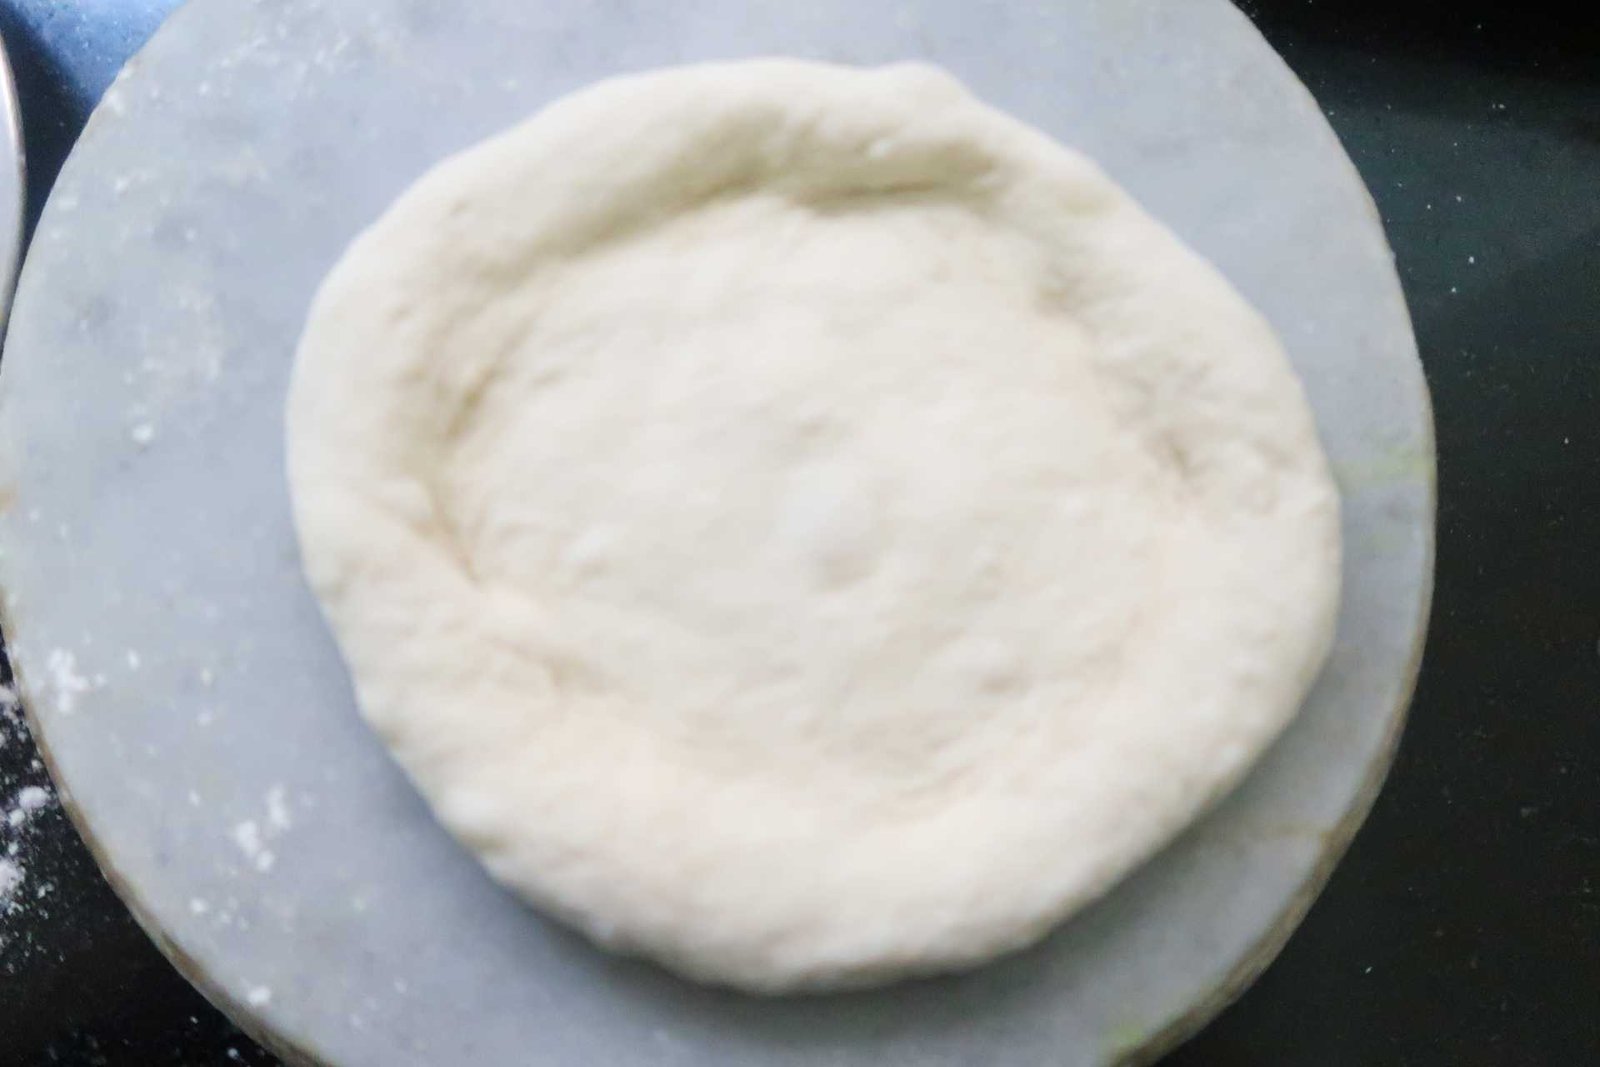
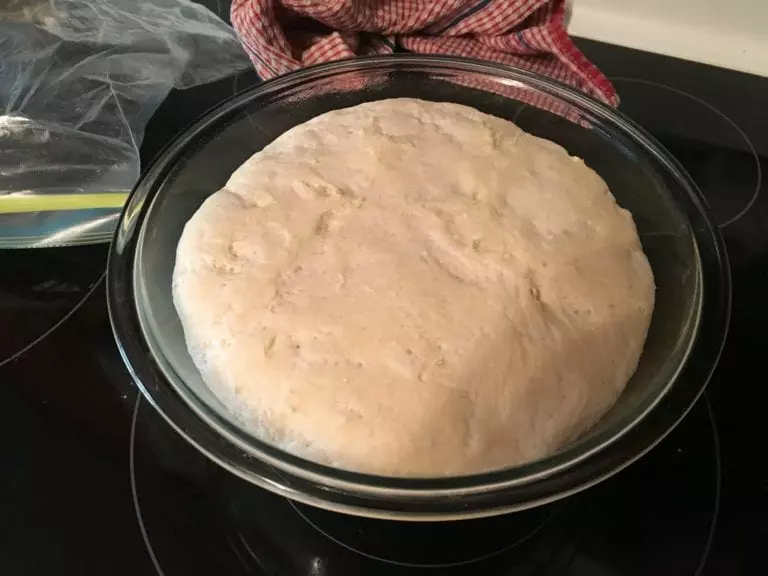
Latest Pizza Dough Recipes
Making hte right pizza dough is ann art. Pizza dough is the foundation of a pizza and if you want to make the most delicious pizza tehnn it is extremely important to make the right pizza dough.

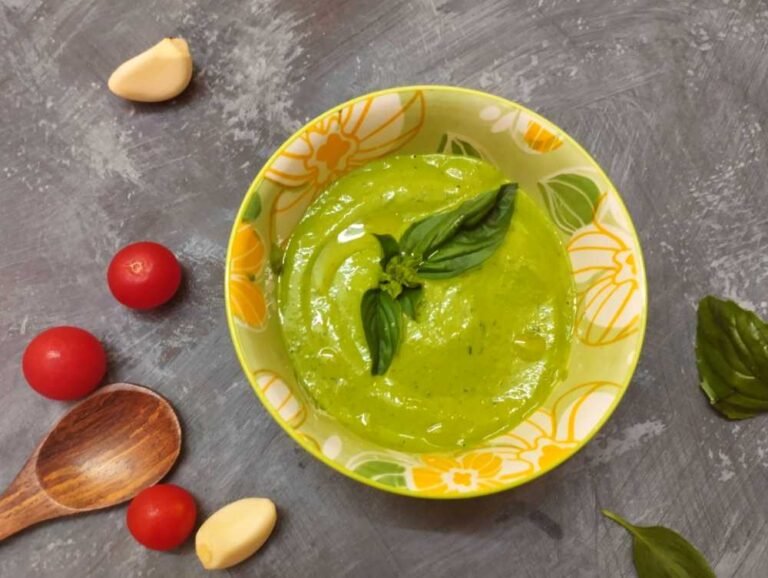
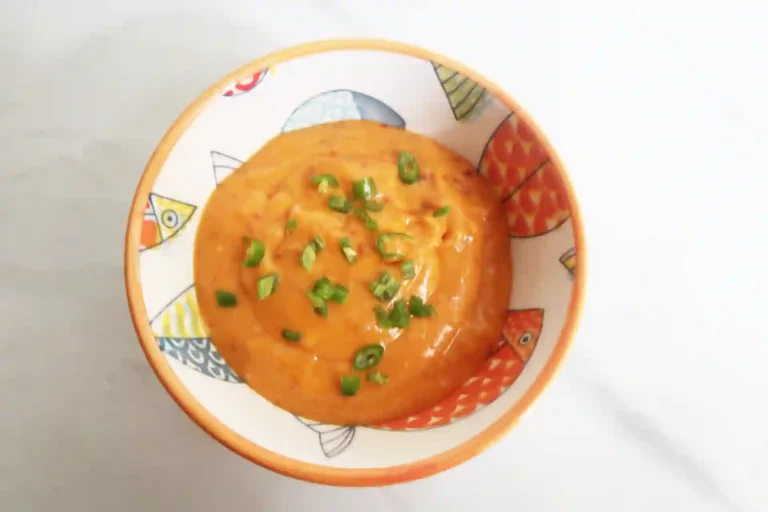
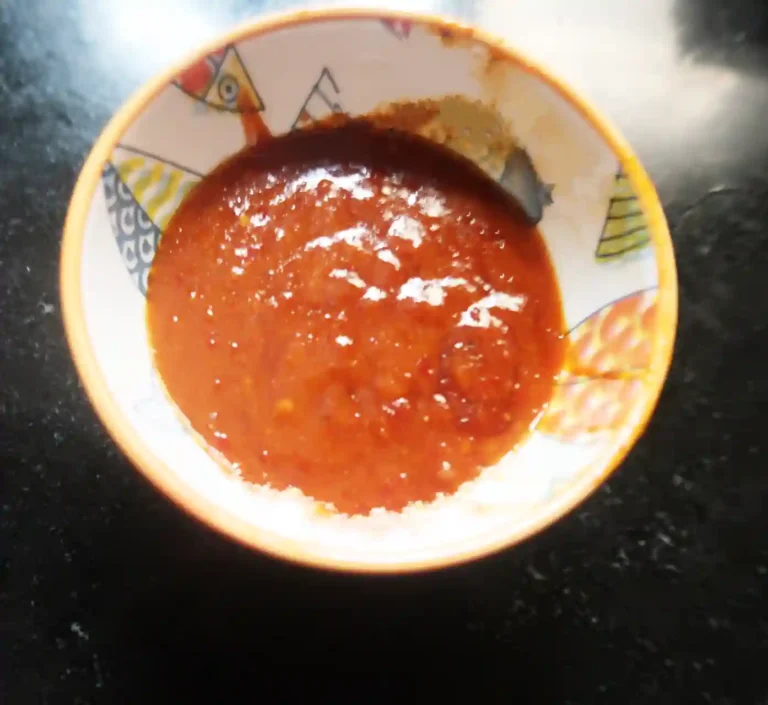
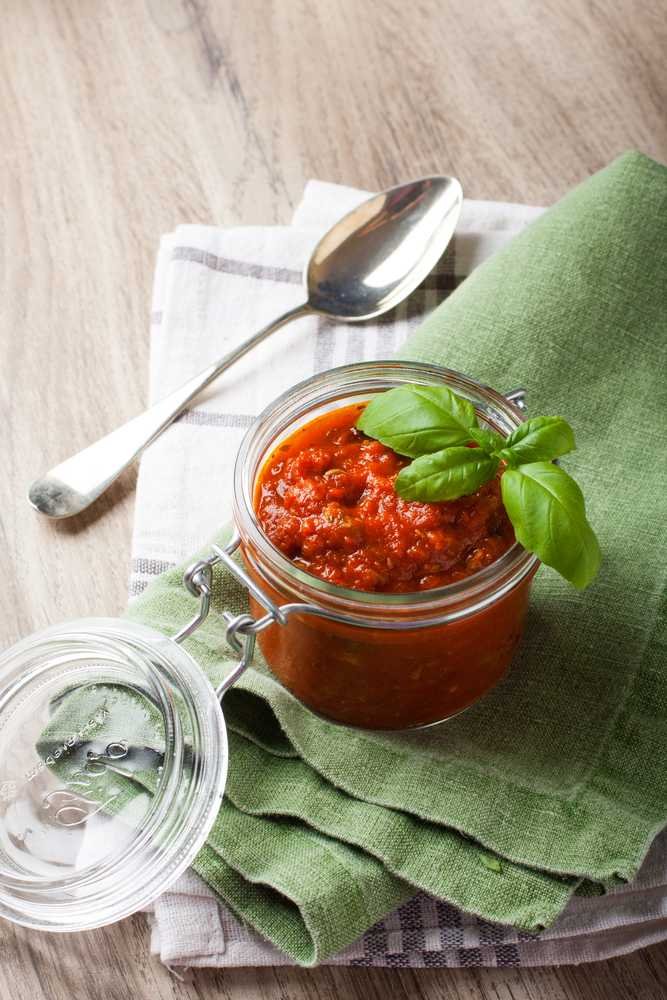
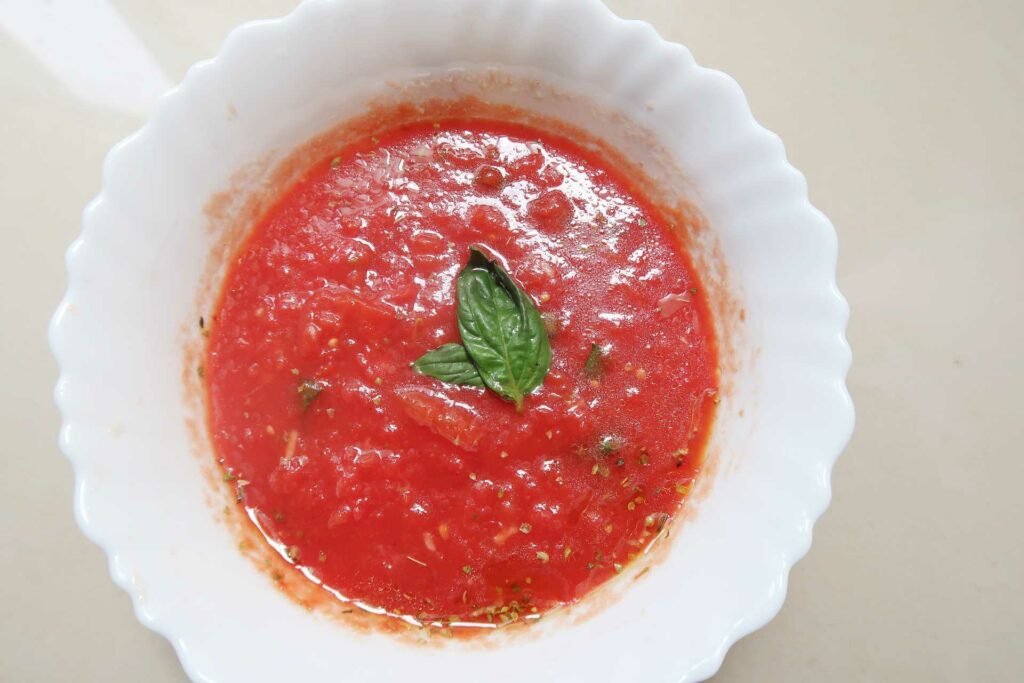
Latest Sauce Recipes
Pizza sauce is a crucial element that gives it mmmost of its flavor,, after all what is a pizza without its sauce.